
How To Harvest Your Own Magnolia Leaves For Fall Fun
September 25th, 2025
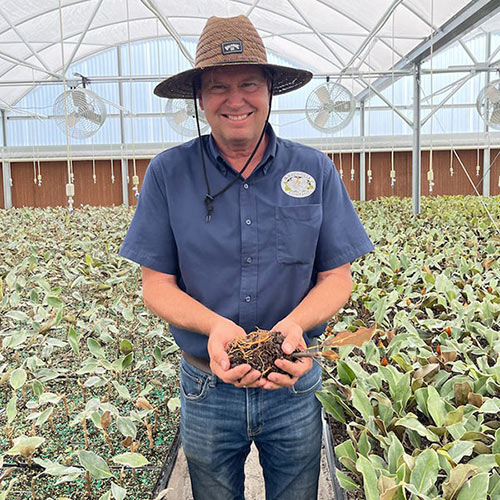
A Guide from the Experts
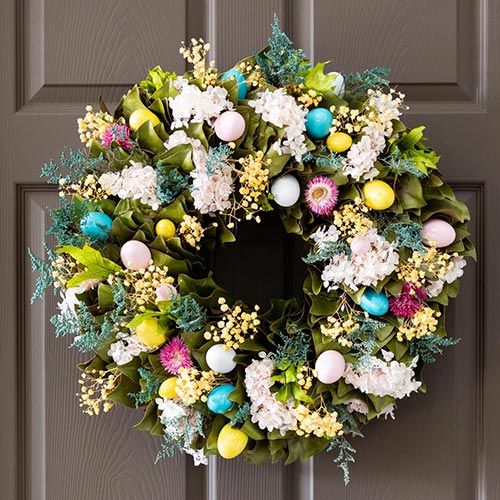
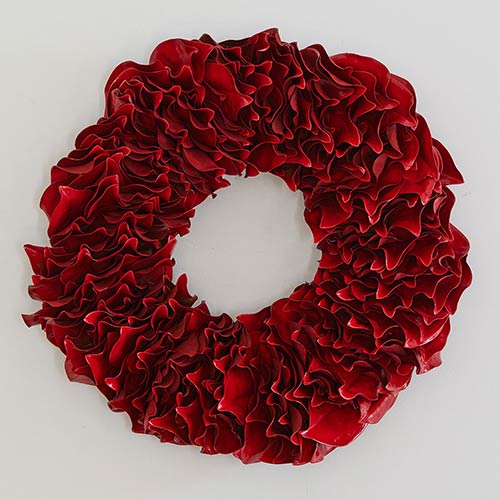
Fake florals and plastic wreaths just aren’t the same.
So why do you keep buying them?
Hey, we get it: fake florals and those plastic wreaths never turn brown, you can use them year after year, and they’re convenient enough.
But, as a company that specializes in hand crafting wreaths for every season, there’s no reason not to enjoy nature’s gifts. You’re putting up wreaths and all manner of decor because you’re celebrating the changing of the seasons – leaves falling from the trees as they journey through all kinds of colors before turning brown, the sun setting earlier and earlier each night, that slight chill in the wind that tweaks your nose as it blows by. How strange it is to celebrate nature from a distance. After all, the fake leaves on your dusty seasonal decor only put distance between you and the reason for your pumpkin spice latte.
Thankfully, the DIY spirit is alive and well, especially among those of us who have an eye for stylish home decor (that’s you!).
Besides… We can guarantee that the page you tore out of Southern Living for inspiration is using the real deal (we would know… we’ve been featured in that magazine). Let’s give your home a hands-on fabulous fall makeover!
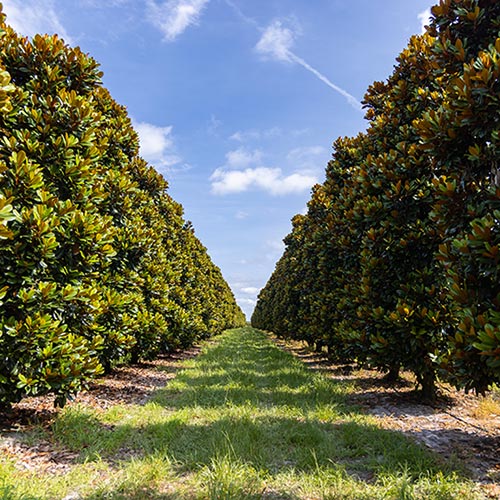
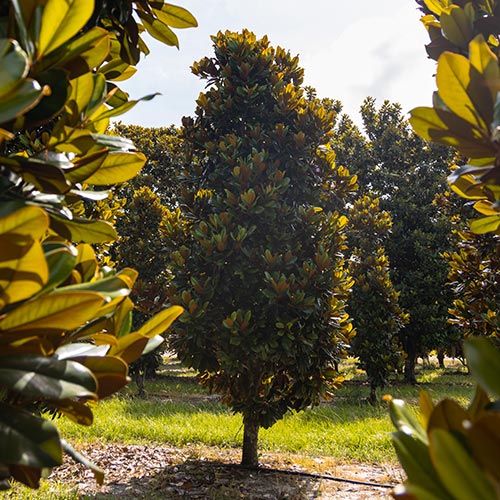
We’ll walk you through how to cut branches for making your own wreaths, vase cuttings, and natural home decor. At The Magnolia Company, we’re pretty biased towards magnolia trees. While our advice in this blog is tailored to magnolia harvesting, you can easily apply it to oaks, maples, or any other tree you’d like to craft with! As always, please harvest responsibly.
Step 1: Collect Your Tools
When you harvest from your magnolia tree, you’re essentially performing a minor surgery on the tree. For best results (for you and the tree), it’s important to make sure your tools are sharp and prepared.
Removing a part or parts of a plant is a stressful event for the plant. After all, the plant’s goal is to survive, which means not getting “eaten.” This is why we recommend heavily pruning magnolias in the cold winter months while the tree is dormant – the tree is functionally asleep and doesn’t register the pruning as damage.
The more you harvest and the more frequently you harvest, the more stress the plant will undergo. Stress is significant because it leaves the plant more vulnerable to infection and less resilient in the presence of harsh factors. That said, having the right tools on hand will minimize the amount of harvesting you do, as well as the amount of trauma done to the plant.
Your first and most important tool: a sharp pair of clippers!
Your clippers are the equivalent of a surgeon’s scalpel. Sharp tools make clean cuts and reduce trauma, which lead to easier and faster healing. Dull clippers will crush and mangle the branch you’re harvesting from, which, aside from being unsightly, is a much harder recovery.
If you really want to go the extra mile, disinfect them before use. Rubbing alcohol works perfectly well for this. When you remove branches from the tree, you’re creating an open wound. The tree can handle it, just like when you get a scraped knee or recover from surgery. But, making sure you don’t accidentally introduce harmful germs into the wound goes a long way towards reducing stress on the tree.
Your second tool: A vase or cup of water to place your cuttings in.
Cool water is best. This will help keep your clippings looking fresh while you harvest!
Step 2: Begin Your Harvesting
You can do this any time of day, but the morning and evening hours will always be a little more naturally forgiving.
Be Picky
Choose branches and leaves that look mature and fully grown. Fresh growth will struggle a little more, especially if you intend to display these branches in a vase. You’ll want to be picky, only selecting leaves that look large, healthy, and beautifully green.
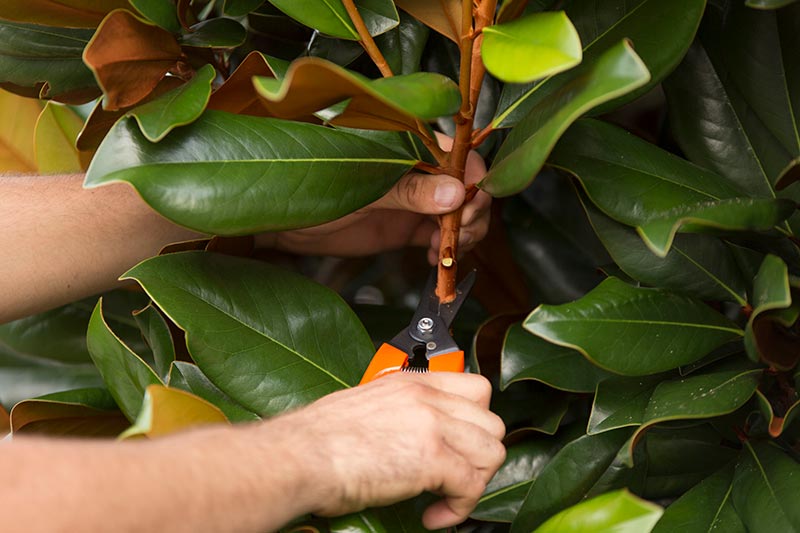
Cut at an Angle
This is best practice for cutting flowers, branches, and even in selective pruning. Always cut at an angle! Scientifically speaking, an angled cut maximizes the available surface area for the cutting to absorb nutrients (like water from your vase).
Harvest in a Single Session
Do your best to gather everything you need all at once. Repeatedly harvesting from your tree will increase its stress. Again, this is like a very minor surgery – aim to get it all done in one harvesting session so the tree can go about healing without repeated injuries to care for.
Go Straight into Cool Water
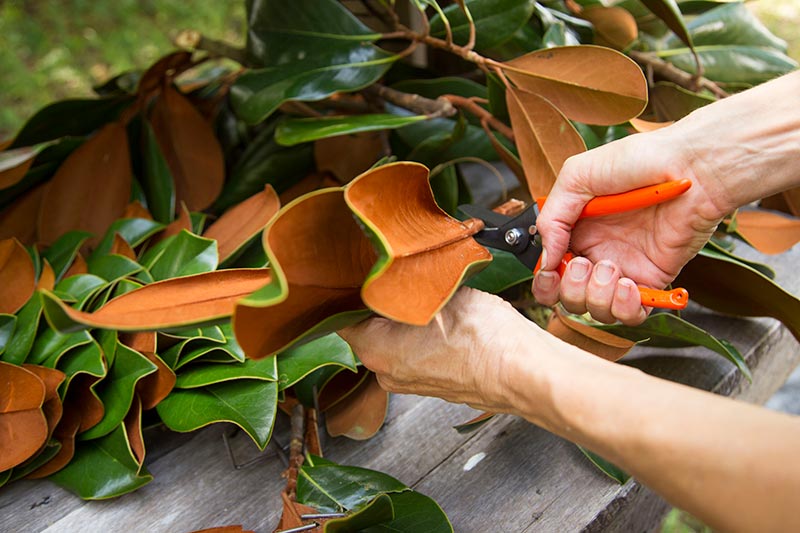
As soon as you’ve harvested a bough or cluster of magnolia leaves, put them in your container of cool water. You can style and craft with them later. Doing so will keep them green for longer!
Additionally, we’d recommend keeping your leaves in a cool environment while still in water until you’re ready to craft with them.
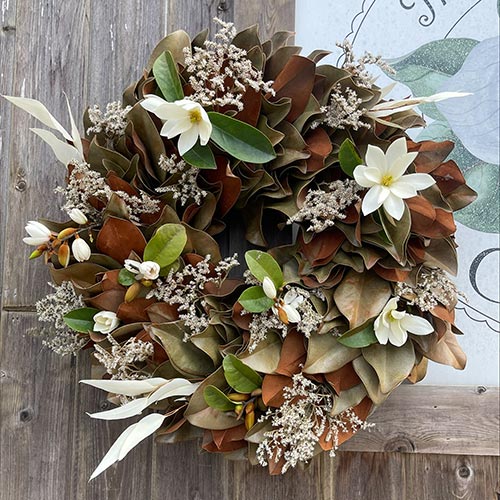
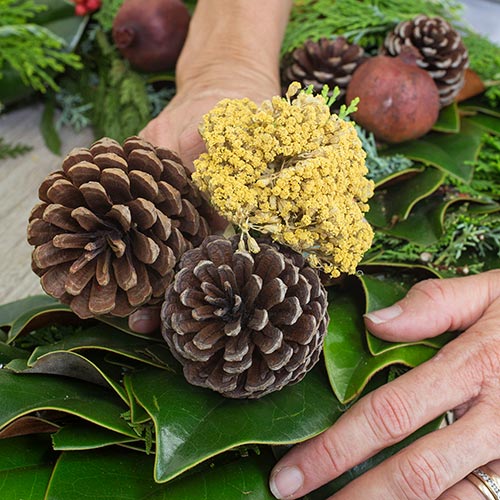
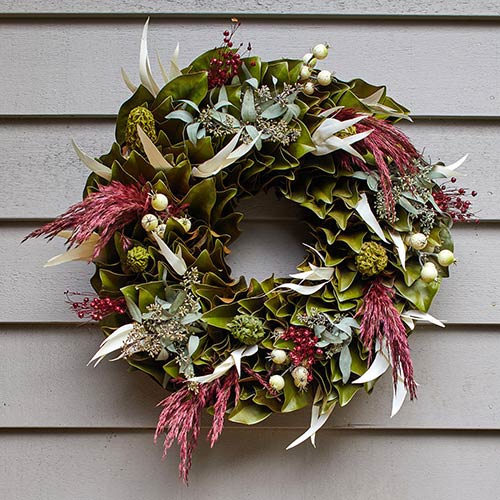
Magnolia Crafting Tips
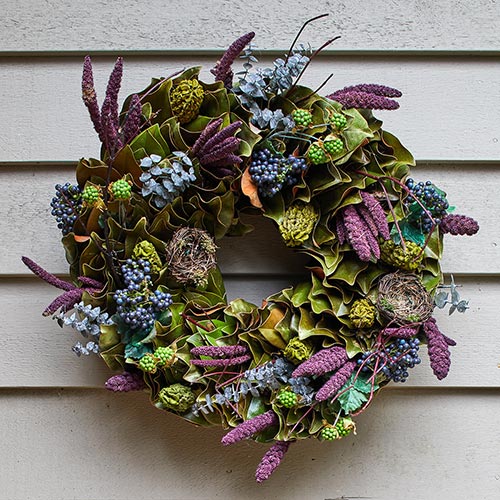
You have two options once you’ve harvested your fresh foliage: let nature run its course or preserve them.
If you opt to let nature do its thing, your decor will eventually turn brown. It’s a beautiful look and perfect ode to the changing of seasons. You’ll likely have greenery for a few weeks, and slowly but surely, the brown will work itself in. Browning happens when the cells responsible for producing chlorophyll in the leaves (the component that makes the green hue) begin to deteriorate over time. The leaves will appear a little more brittle, but they’ll hold their shape. You have the option of spray painting whatever color you like over these leaves, if you so desire.
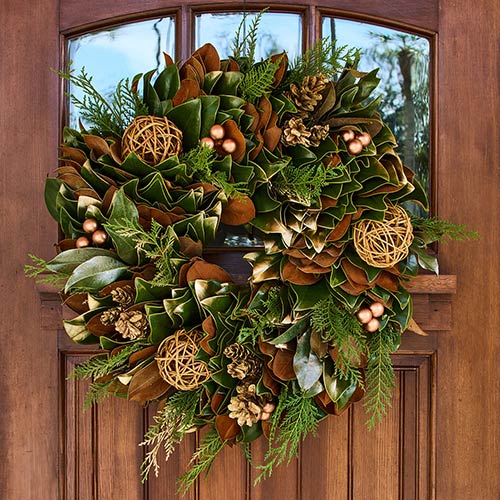
If you’re after year-round green, Mod Podge is your friend. Apply a coating to each individual leaf (both front and back), and you’ll be set.
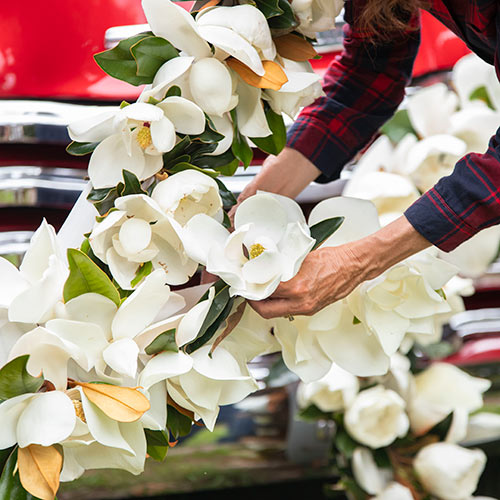
For live bouquet arrangements, just keep the stems in fresh water. We recommend changing out the water weekly to avoid harmful bacteria growth that will shorten the lifespan of your stems.
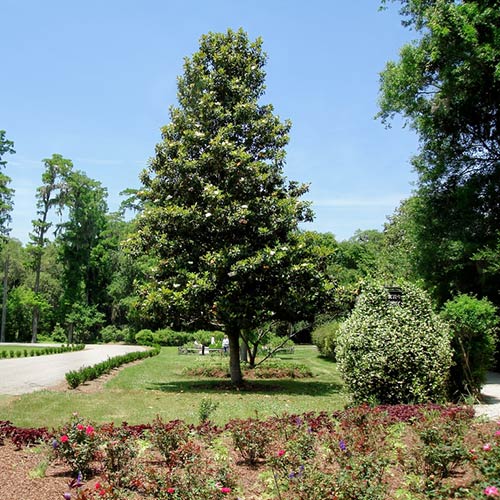
Most kinds of magnolia are evergreen, so you can repeat this process any time of year.
Happy Crafting!